Understanding Your Apple Watch Band
Getting Acquainted with Your Apple Watch Band
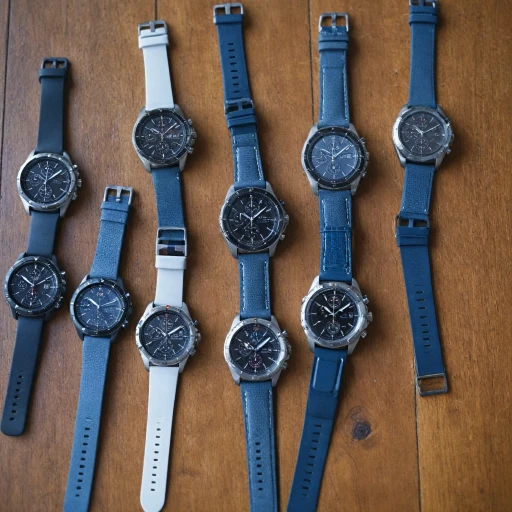
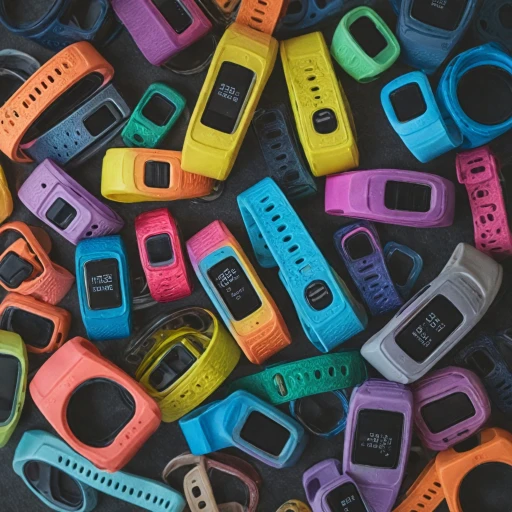
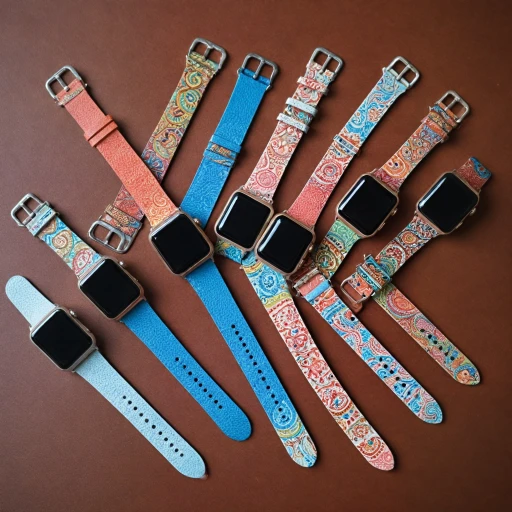
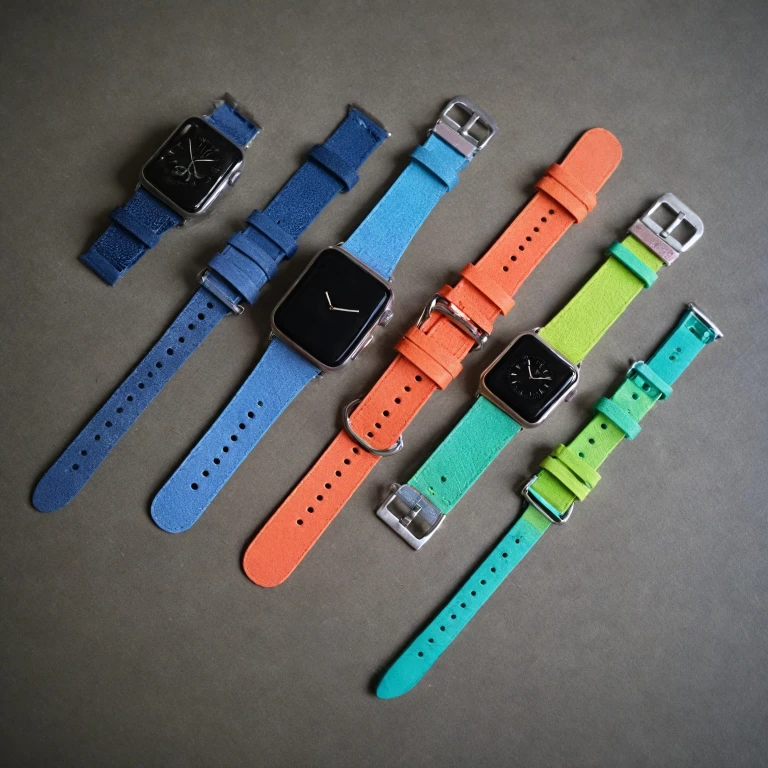
When it comes to personalizing your Apple Watch, Apple offers a plethora of watch bands to suit various styles and preferences. Whether you prefer a sleek modern buckle for a classic look or a solo loop for comfort, Apple provides options to cater to all tastes.
Importantly, understanding the different types of bands is key to making the right choice. From the easily adjustable loop band to the universally easy to remove band options, each type of band offers unique features. This variety allows users to change their watch band seamlessly, offering not just style, but also functional benefits.
For users looking to purchase their watch band, there's a range of prices, ensuring there's something available for every budget. Free shipping is often a perk when you buy directly from Apple. Additionally, exploring the versatility of watches with interchangeable bezels might offer further insights into personalizing your watch to its best potential.
Preparing to Change Your Band
Gearing Up to Swap Out Your Watch Band
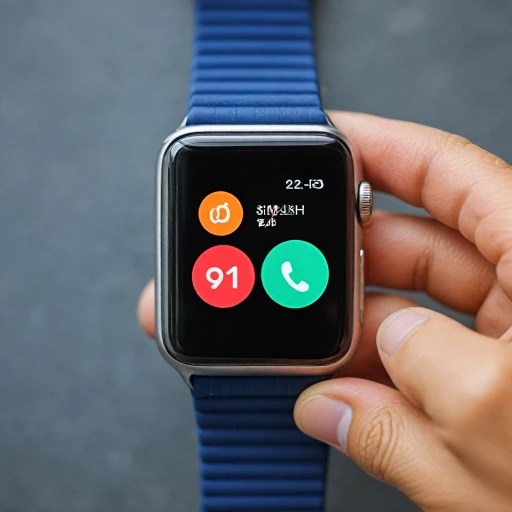
Changing your Apple Watch band is a simple process, but preparing adequately will ensure a smooth experience. Start by laying out the necessary items: your watch, the new band you plan to attach, and a clean, flat surface to work on. It's crucial to have good lighting to clearly see the release buttons. Here's a checklist to guide you in this preparatory step:- Secure a stable workspace: Find a flat surface to prevent your watch from slipping. You want to easily slide the band out without any hassle.
- Ensure your Apple Watch is turned off: This isn't strictly necessary, but it can be useful to avoid accidental taps on the screen, especially if you'll be holding or pressing the watch face for any reason.
- Identify the release buttons: On the back of your Apple Watch, locate the band release buttons. These need to be pressed to free the current strap.
- Prepare the new band: Whether you have a modern buckle or a solo loop, ensure that your new band is ready to attach. Check for any specific instructions that came with the band, such as the correct orientation or how to fit it securely.
- Plan for storage: If your current strap is in good condition and you'd like to keep it, have a safe place to store it after removal, protecting it from dust or scratches.
Removing the Current Band
Steps to Safely Detach the Apple Watch Band
Changing your Apple Watch's look with a new band can be an exciting endeavor, but first, you need to remove the current one. The process is designed to be straightforward for any user. Just a bit of patience and following the right steps can ensure an easy transition to the next stylish watch band.-
Begin by identifying the band release buttons:
Flip your watch face down on a clean, soft surface. Near the back of the Apple Watch, observe the two small band release buttons located where the band connects to the watch. These buttons are critical in this process; thus, understanding their operation will make your task much easier. -
Release to remove the band:
Using a fingertip, press and hold one of the release buttons. While maintaining pressure on the release button, slide the band in one direction until it’s free from the watch profile. If you find resistance, double-check that you're depressing the button fully. Repeat for the opposite band segment. -
Watch out for specific bands:
Specific bands like the solo loop or the modern buckle may have unique aspects that require careful attention. Always consult Apple support if unsure, as different loops and buckles might necessitate specific handling to avoid damage.
After successfully removing the band, you’re now prepared to attach a new one, whether you seek a change apple look or need a fresh band for comfort and style. Make sure to consider compatible bands and ensure they align with your Apple Watch to enjoy a seamless wearing experience. If you intend to shop for replacements, you might benefit from free shipping or diverse strap styles at a range of prices. Before purchasing, ensure the bands meet the Apple standards for quality and fit.
Seeking more guidance on keeping your Apple Watch powered? Check out this article on finding the right charger for your Fitbit Versa 2. It provides insights that can enhance your overall smartwatch experience.
Attaching the New Band
Attaching Your Chosen Band
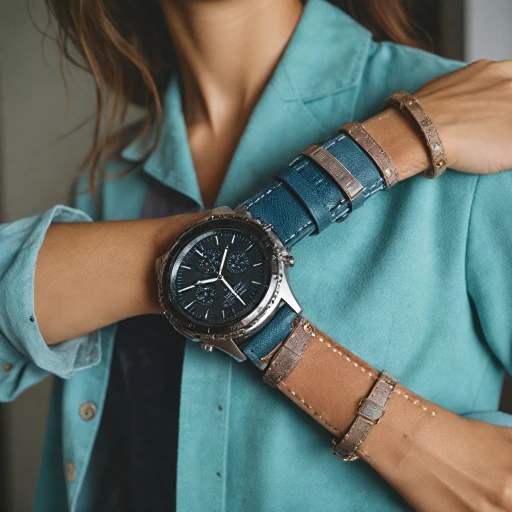
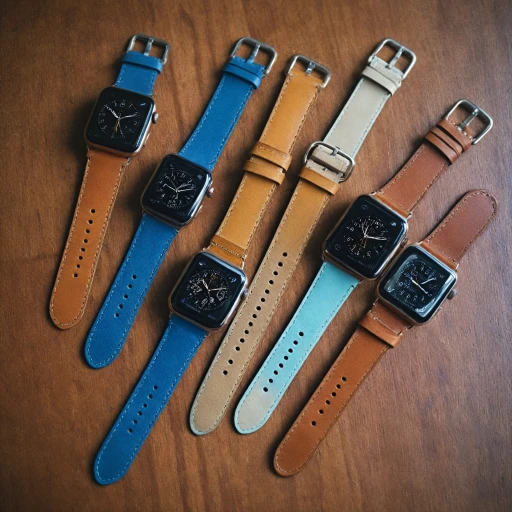
Once you've successfully removed your existing watch band, the next step is to attach your new band. Building on your understanding from earlier, ensure that your watch band of choice is compatible with your Apple Watch profile. Whether you've chosen a modern buckle, solo loop, or another style, the process remains fairly easy. Start by aligning the end of the new band with the watch slot. Hold the Apple Watch face gently and guide the band's connector end towards it. The slot should welcome the band with minimal resistance, but if you're using a model like the watch ultra, ensure it fits snugly. Push the band into the slot until you hear a soft click—this confirms your band is securely attached. If both halves of the strap have been inserted correctly, they should meet seamlessly.- Loop Bands: For these, particularly the modern or solo loop, slide the loop band into place in one fluid motion. The silicone or leather material should rest comfortably against your wrist once it's attached.
- Adjustable Straps: In case you've opted for a band with an adjustable mechanism, like a buckle, ensure that it fits your wrist size before fully sliding it in place.
Troubleshooting Common Issues
Tackling Common Hurdles
Switching out your Apple Watch band should be an easy task, yet sometimes complications may arise. Here, we will address some typical challenges and how to overcome them.
- Ensure the band release buttons are accessible. If the Apple Watch band doesn’t slide off smoothly, double-check the release buttons on the back of the watch face. Forcing the band can cause damage, so be gentle and make sure the buttons are fully depressed before attempting to remove the band.
- Be cautious of debris or residue. Over time, dirt can collect around the release button mechanism, resulting in difficulty when trying to release and remove the band. In such cases, you might need to clean around the area carefully.
- Size matters. When you buy a new strap, make sure it matches your Apple Watch's size, whether it’s for a Series 8 or the Watch Ultra. Bands come in different sizes and compatibility might be an issue if mismatched.
- Check for structural integrity. Double-check that the new band isn't defective. Misaligned connectors or loop issues can be problematic. More expensive than a broken band is mistakenly change apple without verifying its quality.
- If you've opted for non-standard bands from third-party suppliers, the fit might not be as precise as Apple's own modern buckle options. For a level of compatibility, ensure that the bands come free of charge.
Admittedly, not all hurdles are avoidable, but keep these tips in mind, and many issues should become easier to troubleshoot on your own. If persistent difficulties occur, remember that Apple Support is available to assist.
Caring for Your Apple Watch Band
Ensuring the Longevity of Your Watch Band
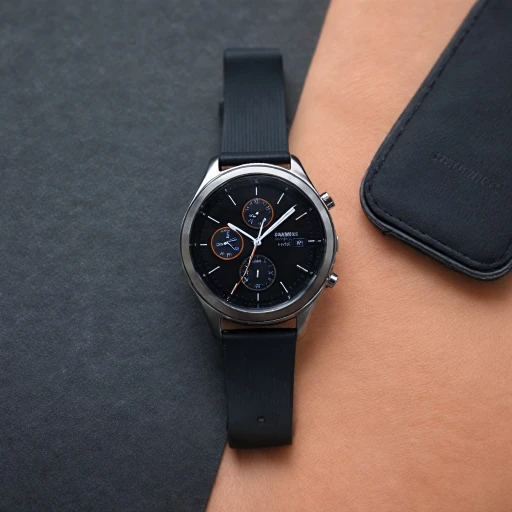
Proper care and maintenance of your Apple Watch band can prolong its life and keep it looking fresh. Here are some practical tips to help you maintain the quality of your bands:
- Identify Material: Different bands need different levels of care. Whether it's the solo loop, modern buckle, or traditional strap, understanding the material is key to proper maintenance.
- Regular Cleaning: Use a soft, lint-free cloth to wipe down your watch band. For more thorough cleaning, a slightly dampened cloth can be used, ensuring to avoid submerging the band.
- Avoid Chemicals: When cleaning, steer clear of soaps, detergents, or any chemical products as they can damage the finish or material of the band.
- Dry Carefully: After cleaning, ensure your band is dried completely before reattaching it to the watch face. A dry, air-free environment is best for drying.
- Avoid Overstretching: If your band has an adjustable mechanism, like a watch ultra band, do not over-extend it as this could compromise the integrity of the band.
- Storage: When not in use, store your bands in a clean and dry place. Avoid areas with extreme temperatures and humidity to prevent damage.
A little attention goes a long way in maintaining your Apple Watch band, whether it’s ensuring the release button functions smoothly or that the slide band option stays secure. If you encounter any issues, Apple support can offer additional guidance on band care. Investing some effort now can save you the price of an unwanted replacement later.